The first step is to always decide on the scent. Choosing one from the get-go will help you narrow down the ingredients you'll need in order to make the candles. The scent is what will practically dictate everything else, from the color of the candle to even its shape. Sure, if you're going for the usual round shape, any scent will do. But if you want to get more creative, the scent you choose will help you better achieve and stay focused on the idea. Go for one that will remind you of something nice. Your mom’s lemonade, perhaps? Or that of a Roman garden? The possibilities are endless!
The same goes for oil too! More often than not, your fragrance oil can also be your scent as well but this isn't always the case. In some instances, you're going to have to choose your scent and your oil separately, and your essential oil is vital for enhancing the scent to go even beyond the area of the candle. So choose wisely which oil you want for which scent. Sometimes they mix well, other times they don't!

Now, prepare your work area by cleaning it up! Yes, candle-making can get quite messy, so it won't help if your workplace is also messy. When you’re making gelato or baguette bread, wouldn’t you want your area to be clean? Of course, right? You'll have a more difficult time cleaning everything by the end of it that you might not even enjoy the candles anymore. When making your scented candles, already pick the area where you want to make it. The best is always the kitchen since you'll need the stove to melt your wax. It's best to keep the food away from the table during this entire process.
You have your scent, your oil, your wax, your candle powders, and your dye. Now, it's also better if you prepare them beforehand. What does this mean, exactly? If let's say, your recipe (and you can find loads of different scented candle recipes online!) requires only a cup of essential oil, it's better to pour your oil into the cup already instead of measuring it when you're already halfway through the process. The delay can cause massive confusion as you try to make your scented candles.
Now for the fun bit! Melt your wax! However, it's better if you break it down first. When you buy the was from any craft or appliance store, it'll first come out as big blocks of hard wax that you'll have to melt. To make the process even quicker, break those big blocks down by living them up. In fact, one slice of wax might already be enough for one candle. But then, with the slice, pound it even further to bits and pieces. This will really melt faster than you think!
While your wax is melting, and if you didn't break it down before putting it on the stove, it will take some time, prepare your wick in the meantime. The wick is the tiny braided rope that you light the candle with, which will also help the scent float even further into the atmosphere. There are actually some pre-tabbed wicks you can already buy in the store but they're only advisable if you already know what size your candle will be. If you want to be creative, do them yourself too.
Once your max has melted, add in the scents and the oil. Make sure to mix them nicely and well so that the eventual smell will really take off once you light your candle. If you want to dye them via a powder, it's better if you add it as you stir all the ingredients together. If you're using food-coloring, a few drops will do. Continue mixing until the oil, scent, and color have all blended well enough together.
Once everything's nicely mixed together, pour your mixture into the mold. Now, glasses that you won't use anymore will be great as permanent molds. This way, once the mixture is all cool and hardened, you're good to light it. But if you want a temporary mold, make sure to spray it with oil first so that your hardened candle won't stick to it permanently. Also, don't be afraid to get creative with your mold!
Have you poured your candle mixture into the mold? Good! Now set it somewhere to cool off. A great place will be by the window, especially if it's cold outside. Setting it by the table is also good, but with just room temperature, it might take a bit longer to cool. If you're thinking of cooling it in the freeze, just stop right there! You wouldn't want a frozen candle at the end of the day!
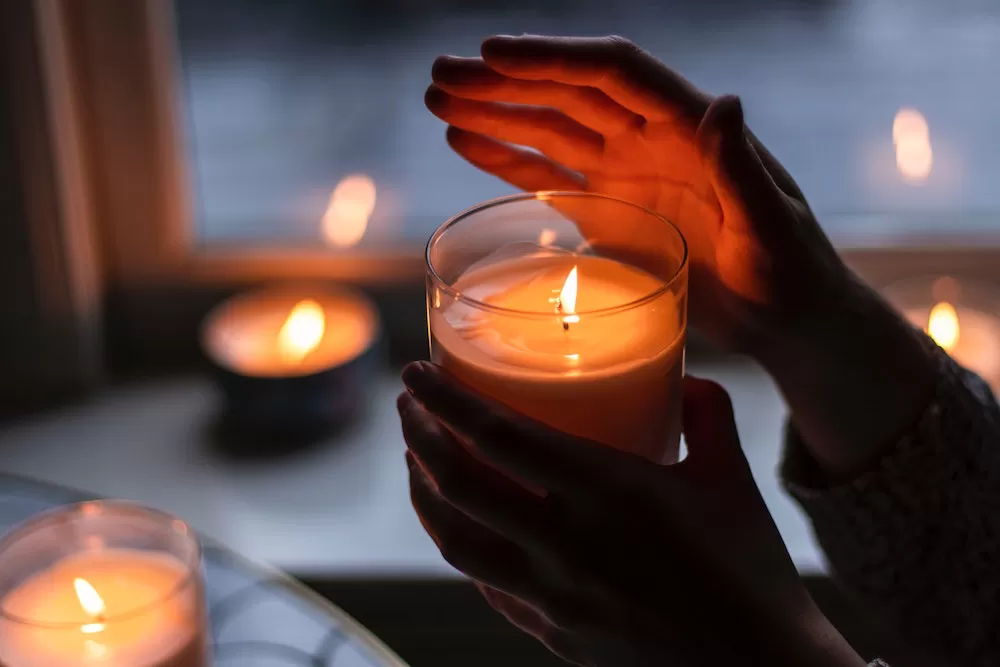
Once your candle is cool and hard, there's only one thing left to do: light it up! Set it somewhere nice and light it so that the whole room will smell as sweet, or as relaxing. You can light it in your living room so that your guests can enjoy the scent as well. And if someone just made number 2 in the bathroom, lighting it there can eliminate the offensive odor in a matter of minutes. There’s also your bedroom to set the mood just right!
Scented candles may look too complicated to do at home, but they really aren't! As long as you have your ingredients and you follow the steps properly, your home will be smelling beautifully in no time!
Subscribe to our newsletter to get curated travel inspirations.
Submit |

