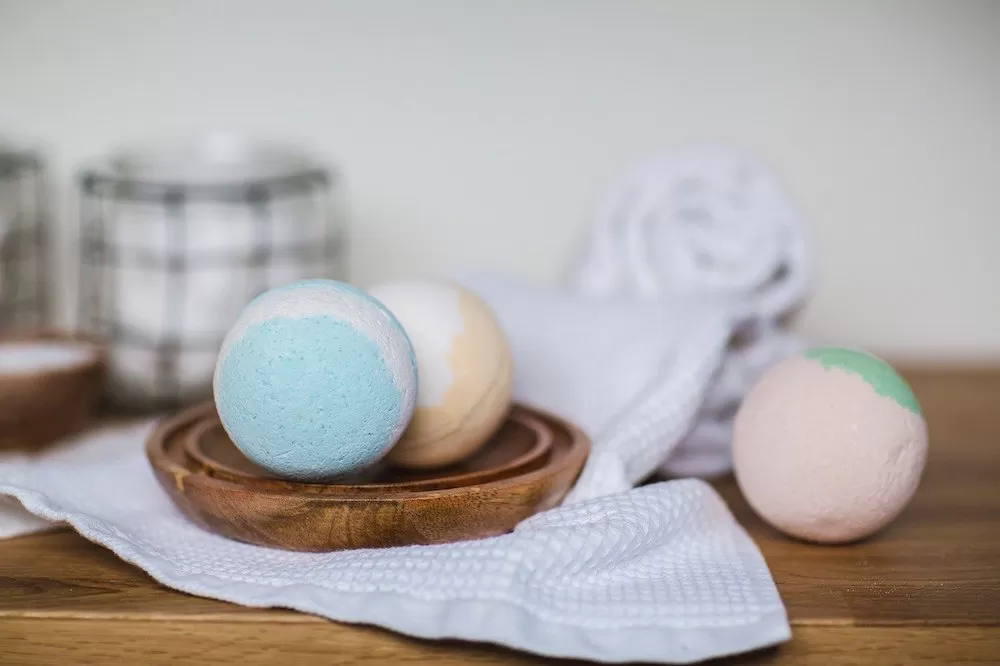
First, you're going to need to prepare your ingredients. To make a homemade bath bomb, you'll need two sets of ingredients. One is for the wet ingredients and the other is for the dry ingredients. It will be better for you to mix both sets separately during the start of the process so that each ingredient will really hold its own. The wet ones include 1/2 cup of citric acid, 1 teaspoon of water 2 teaspoons of essential oil, 3 teaspoons of olive oil, and food coloring. The dry ones are 1 cup of baking soda and 1/2 cup of Epsom salts.
Combine the dry ingredients first in a bowl. In a nice bowl, our in your Epson salt and baking soda. Don't just stir them together with a wooden spoon, whisk them well with an egg beater. You can do it yourself to really scrape in each and every grain and powder of each ingredient. Or you can get an electric egg beater to make the whole process that much faster. Either way, the idea is to really mix in the dry ingredients to get the best of each. It will help make your bath bomb better and explode evenly when you put it in your bathwater.
As for the liquid ingredients, blend them all together in a nice jar. You don't have to use a bowl for this step because most of your wet ingredients are small in quantity. You can easier mix them together in a smaller and enclosed container. Imagine mixing a teaspoon of oil and a teaspoon fo water in a bowl. Not only will they disperse more, but you're also going to have a more difficult time combining them together in such a big container. This is why a nice, clean, and preferably medium-sized jar is enough.
Now that you have your two mixtures together, carefully combine them to make your entire bath bomb batter. But do so gently and one at a time. As you continue to whisk your dry ingredients, drop a few hints fo your wet mixture into the bowl bit by bit. Don't just plop it all in one go, you'll have a difficult time spreading it in the entire mixture. At least, by dropping it hint by hint, you're really blending the two mixtures together, maximizing each ingredient's essence. This will also help make the mixture dry quicker, and you'll need it to be for the next step.
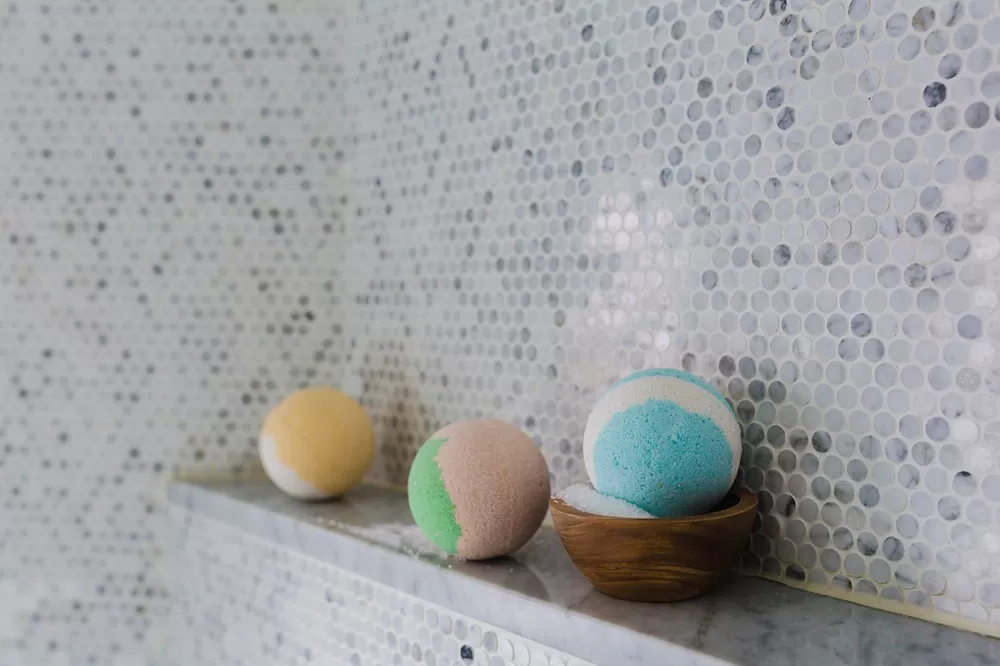
By the way, don't forget the coloring! Now, it's better to add it when both your mixtures have blended together so you can really maximize the color. If you added the coloring in the jar with your wet mixture, you're not entirely sure you'll be able to evenly spread the hue within the dry mixture as well. As you continue to whisk your bath bomb batter, this is where you can best drop hints of the food coloring. this is especially when you want to blend two colors together to make a different hue, like mixing pink and blue to make purple.
Once you've whisked everything in place, let the mixture sit for a bit at room temperature. Others would have you put the batter into the mold right after, and while this isn't bad, it's better if you wait a while. Let the wet parts of the mixture dry a little before you start molding your bath bomb. If you start immediately, and some parts still feel moist, you'll have a more challenging time molding your bomb to your desired shape. It's better to ensure that your mixture will be at its dryest once you put some into your mold.
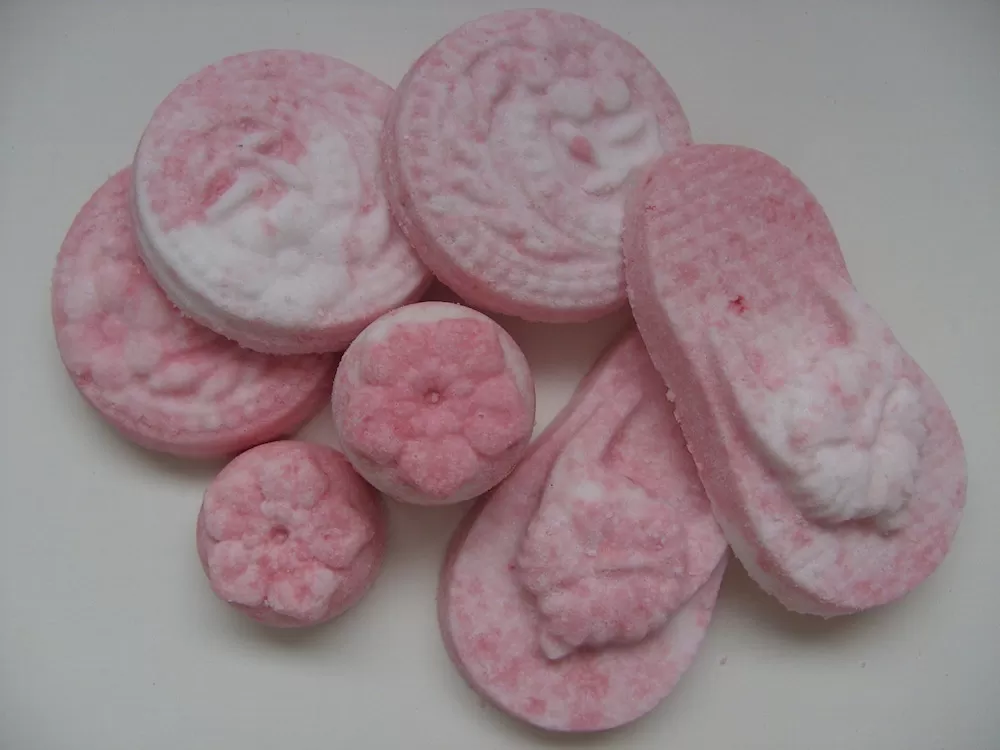
Is your mixture dry enough? Good! now it's time to old it. And this is probably the fun part. Get whatever mold you have (or make one if you can) and put in your mold. Fill it up to really get in the shape and enclose it tightly while you wait it to dry some more. However, what if you couldn't get your desired shaped mold in the store? You can still form the bath bomb yourself on a parchment tin sprayed with some oil. Similarly to how you build sandcastles, form the mixture onto the tray into your preferred shapes.
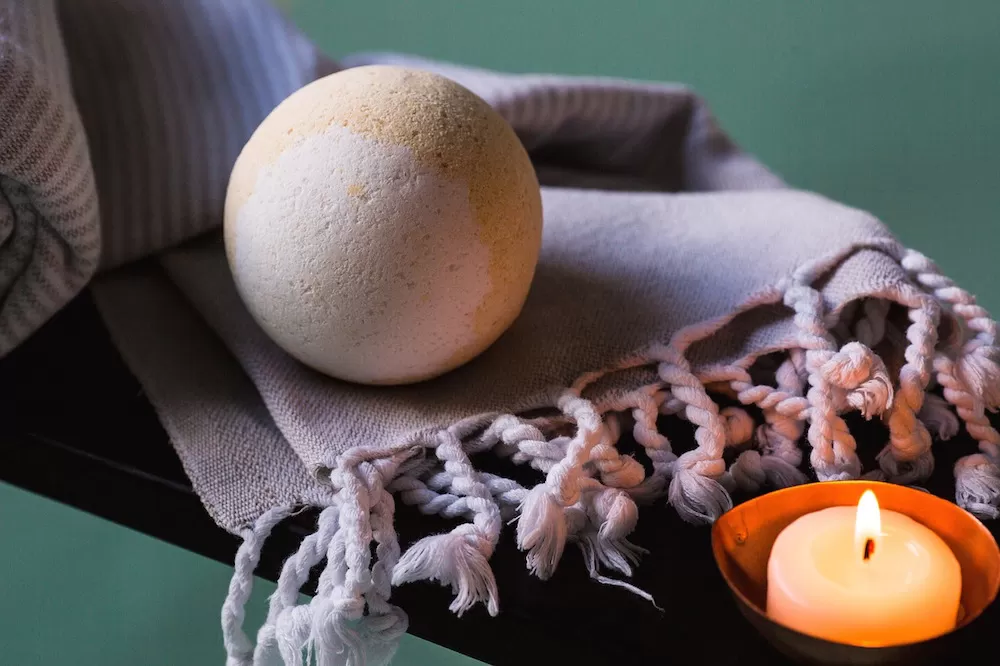
Once you've passed enough time for the mixture to form in the molds, take them out, and voila, you have your own bath bombs. If you laid them out on a tray, don't make the mistake of baking them in your oven. These aren't pastries you're making, they're bath bombs. Just leave them to dry at room temperature and they'll turn out fine. And when you take them out, do so gently so as to not destroy the bomb even before you put it in the water. Come bath time, in your luxurious bathroom, when your bathtub is full of warm water, just plop these bombs over and enjoy your beautiful bath!
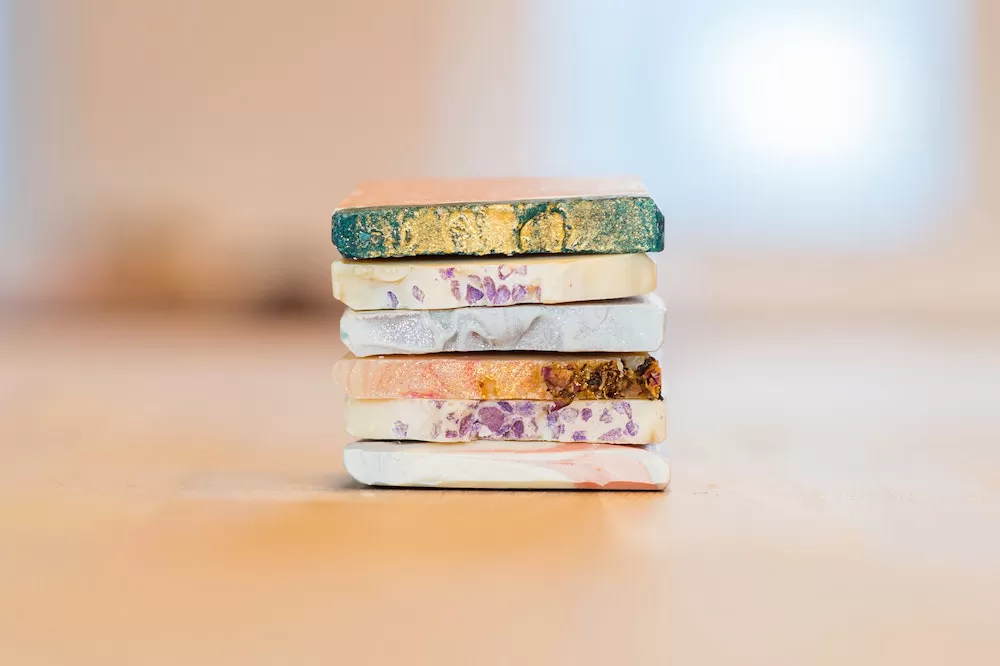
Who knew bathtime can look so beautiful? If you want a colorful bath that's Instagram-worthy, try making these bath bombs at home. They're already pretty on their own, but wait until you put one into your bath!